How to Set Up a Coffee Bar at Home (Step by Step)
Updated Sep 22, 2026 · 9 min read
Short answer
Pick a spot within 3 feet of an outlet and a short walk from a sink, then give it at least 36 in wide x 18 in deep (91 x 46 cm) for a machine, grinder and accessories. Put the furniture and a drip mat in first, arrange gear in the order you use it, and expect to spend $135-$365 on furniture and accessories for a mid-range setup.
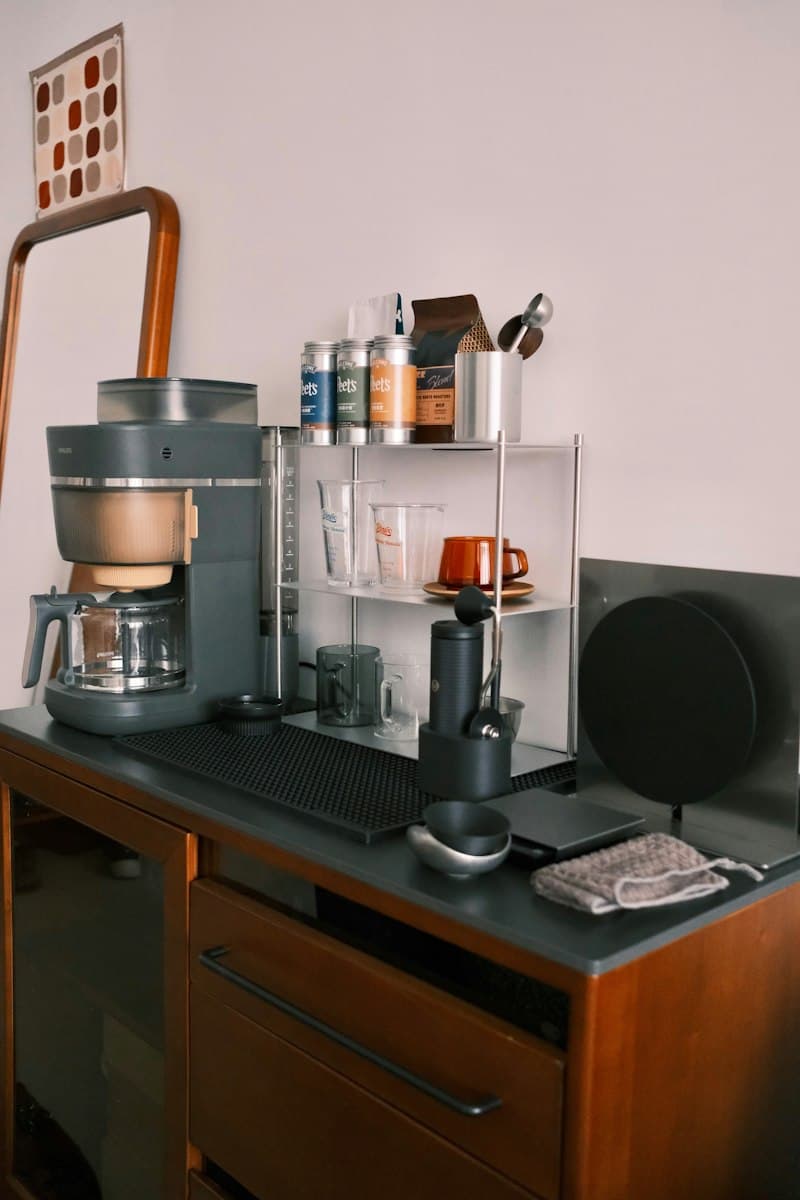
A home coffee bar doesn't take a renovation. It takes a spot with power, a surface that can get wet, and a layout that follows the order you make coffee in. Most setups that end up annoying to use skipped one of those three, usually the power.
The steps below go in the order that saves you returns: location, measurements, power, furniture, gear, layout, then lighting and styling. If you want to see finished setups first, the coffee bar ideas gallery has them sorted by room and style.
Step 1: Choose a location with power and water nearby
The right spot has three things: an outlet within cord reach (most appliance cords are 2-3 feet), enough surface for your machine plus a grinder, and a sink that isn't a hike away. You'll refill a reservoir or kettle at least once a day. If the nearest tap is two rooms off, you'll notice by the end of the first week.
Common locations that work:
- A section of kitchen counter. The default, and the cheapest. See the kitchen coffee station page for where on the counter to put it.
- A dining room sideboard or buffet. Plenty of top surface and closed storage below.
- A pantry nook or the dead end of a hallway. Works well with a narrow console.
- A bare wall anywhere, with a cabinet, cart or table against it.
Spots to avoid: anywhere that gets direct afternoon sun (heat and light stale beans faster), right next to the stove (grease film on everything), and walkways where someone will bump you mid-pour.
If you have no spare counter at all, a rolling coffee cart parks wherever there's an outlet and moves when you need the floor.
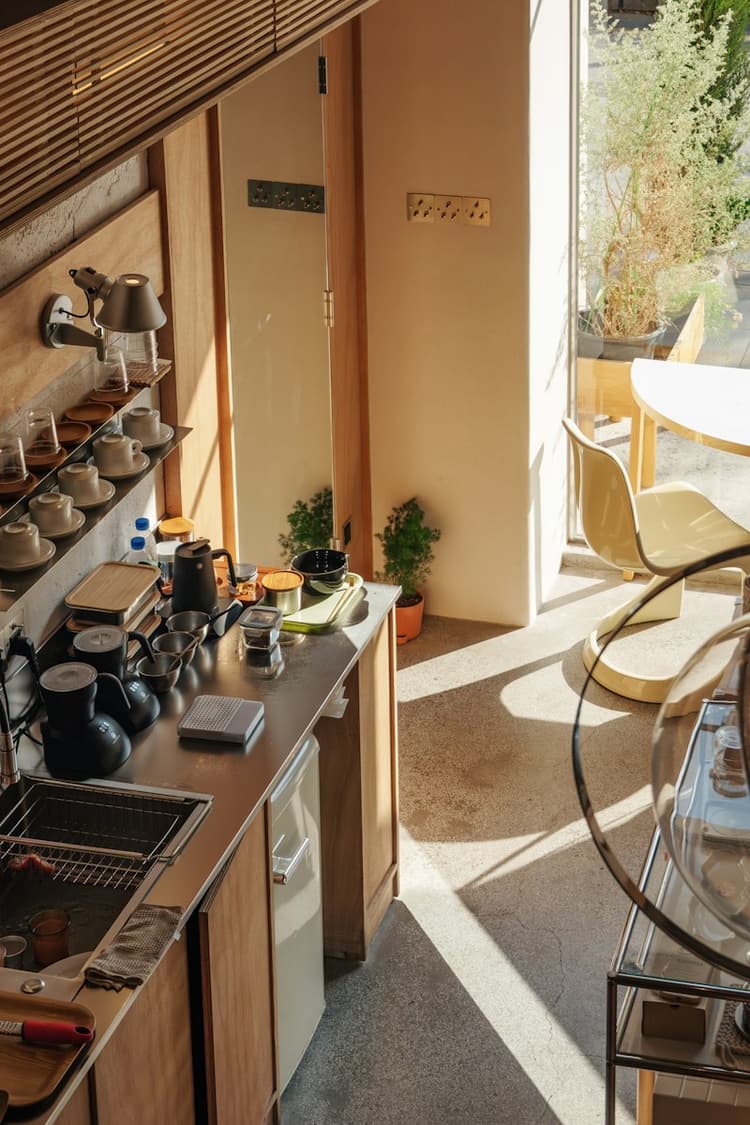
Step 2: Measure width, depth and height
Take three measurements before buying anything: width, depth, and the height between the surface and whatever is above it.
| Setup | What's on it | Minimum surface |
|---|---|---|
| Minimal | Drip machine, pod machine or pour-over, no grinder | 24 in wide x 16 in deep (61 x 41 cm) |
| Standard | Machine + grinder + canister and tray | 36 in wide x 18 in deep (91 x 46 cm) |
| Full coffee bar | Espresso machine + grinder + storage and display | 48 in+ wide x 20 in deep (122 x 51 cm) |
Depth is the one people get wrong. Most coffee machines are 14-18 in deep once you count the cord and a little air behind them, so a 12 in console works for a pour-over setup but not for an espresso machine.
Height matters whenever something sits above the machine:
| Item | Typical height | What to check |
|---|---|---|
| Drip coffee maker | 12-15 in | Lid flips up to fill, add 4-6 in or slide it forward |
| Espresso machine | 14-17 in | Top-fill tank and cup warmer need hand room above |
| Standard upper cabinets | 18 in above the counter | A 15 in machine fits, but you can't fill it in place |
| Standard kitchen counter | 36 in tall, 24-25 in deep | Comfortable working height for furniture to match |
Measure your actual machine with the lid or reservoir open. If it only fits closed, plan on sliding it forward to fill it, and put it on a mat or tray that slides easily.
Step 3: Check the outlet before you commit
Power is what kills the otherwise good spot. Heating appliances draw a lot, and they usually all run in the same five minutes.
| Appliance | Typical draw |
|---|---|
| Drip coffee maker | 900-1,200 W |
| Espresso machine | 1,000-1,600 W |
| Electric kettle | 1,200-1,500 W |
| Burr grinder | 100-300 W |
| 15-amp circuit, total available | 1,800 W |
| 20-amp circuit, total available | 2,400 W |
Kitchen counter outlets are often on 20-amp circuits. Dining rooms, hallways and bedrooms are usually 15-amp and shared with other outlets in the room. A kettle and an espresso machine heating at the same moment on a 15-amp circuit can trip the breaker, so either stagger them or pick a spot on a kitchen circuit.
A few practical rules:
- Plug heating appliances straight into the wall where you can. If you must use a power strip, use a heavy-duty one rated for 15 amps, and don't run two heaters off it at once.
- No extension cords draped across the counter. If the outlet is in the wrong place, have an electrician add one. It's a small job and it's the difference between a station you use and one you work around.
- Near a sink, the outlet should be GFCI protected (the kind with test and reset buttons).
- Decide how lights will get power now, not after they're stuck up. More on that in step 7.
Step 4: Pick the furniture and the surface
Any flat, sturdy, wipeable surface works. These are the usual choices:
| Option | Typical cost | Best for | Watch for |
|---|---|---|---|
| Existing countertop | $0 | Kitchens with a spare 24-36 in run | Define the zone with a tray or mat |
| Coffee bar cabinet, buffet or sideboard | $80-$250 | A dedicated, permanent station with closed storage | Top must hold the machine: espresso machines weigh 20-60 lbs |
| Bar cart | $30-$150 | Renters and small spaces | Lock the wheels, check the top shelf weight rating |
| Console or small table | $40-$200 | Hallways, dining rooms, a bare kitchen wall | 12-16 in deep tables only suit small machines |
| Floating shelves over a narrow table | $40-$100 | Bare walls, vertical storage without losing floor | Anchor into studs |
The furniture hub compares all of these in more detail.
Choosing a surface that survives coffee
Coffee is a dye, and the area around a machine is wet most mornings. The top needs to resist water and stains, tolerate a hot kettle, and wipe clean with a damp cloth.
| Surface | Water and stains | Heat | Rough cost for a coffee-bar-sized top | Verdict |
|---|---|---|---|---|
| Sealed butcher block | Good if sealed, poor if raw | Good | $50-$150 | Warm look. Reseal periodically and wipe pooled water right away |
| Laminate | Very good | Poor, use a trivet | $20-$80 | Budget workhorse. Watch seams and edges where water gets under |
| Quartz or sealed granite | Excellent | Excellent | $100-$400+ | Best for permanent setups. Heavy, so the cabinet must carry it |
| Marble | Poor | Good | Varies | Skip it. Coffee is acidic and rings can set within hours |
| Porcelain or ceramic tile | Excellent (grout is the weak point) | Excellent | $20-$50 in materials | Good DIY top. Use large tiles and dark or epoxy grout |
| Concrete or concrete overlay | Good if sealed | Excellent | $30-$60 for a DIY overlay | Develops a patina. Some people like that, some don't |
If you're using a surface you can't or won't change, protect it instead:
- A silicone or rubber mat under the machine, $12-$25. It catches drips and takes the heat. This is the single most useful thing you can put on a coffee bar.
- A tray under the whole cluster. If it stains, you replace a $15 tray instead of a countertop.
- A large cutting board laid flat. Free if you own one, and removable.
For a thrifted cabinet or table with a tired top, peel-and-stick vinyl ($15-$30) is waterproof and renter friendly, a pre-cut butcher block slab can simply sit on top under its own weight, and thin porcelain tile can be glued straight onto an old top in a weekend.
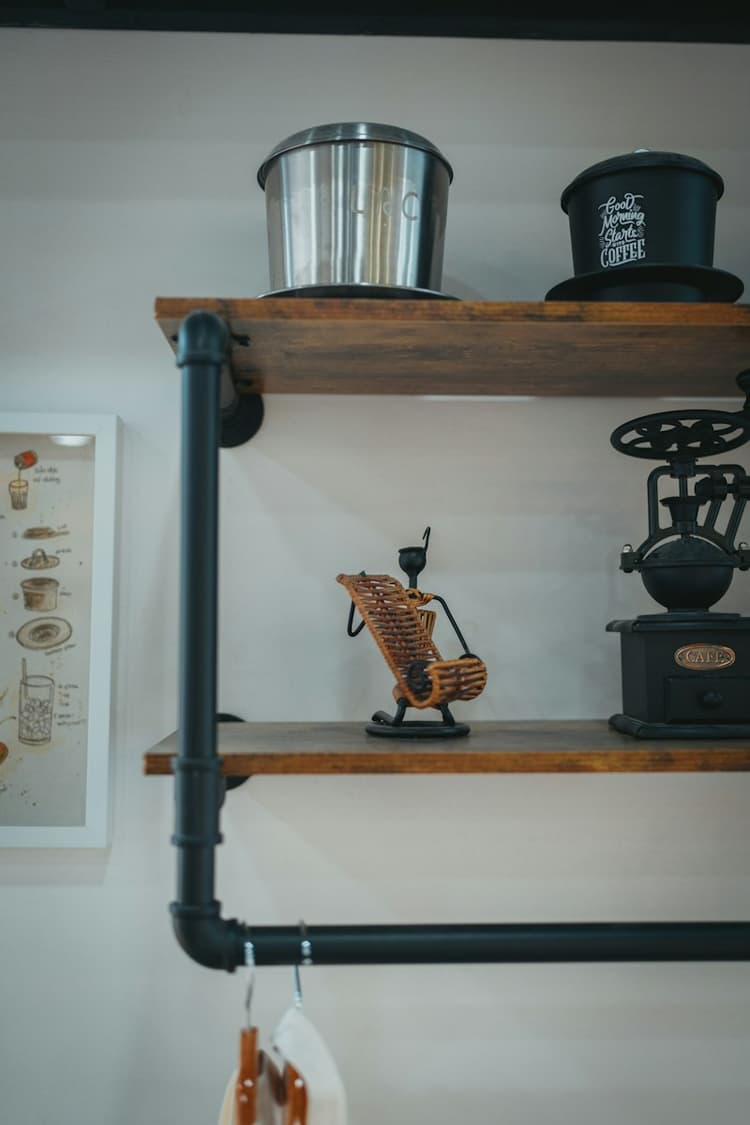
Step 5: Get the essentials, skip the rest for now
There are two kinds of things on a coffee bar: what makes the coffee, and what keeps the area from turning into a pile.
For making coffee
- Your coffee maker: drip, pour-over, French press, pod or espresso
- A burr grinder if you buy whole beans. Even a $30 hand burr grinder beats pre-ground that has been open for two weeks
- A kettle: gooseneck for pour-over, any electric kettle for everything else
- Your daily mugs within arm's reach
If you're going the espresso route, read the home barista setup guide before buying, because the grinder budget matters more than the machine budget.
For keeping it tidy
- An airtight, opaque canister for beans. Light and air are what stale them
- A small tray or lazy Susan for creamers, sweeteners and syrups
- A mug rack, hooks or a mug tree
- A drip mat under the machine
- A knock box if you use an espresso machine
The accessories guide sorts the useful from the decorative.
Step 6: Arrange everything in the order you use it
Walk through how you make a cup: grab a mug, scoop or weigh beans, grind, brew, add milk or sugar. Lay the station out in that sequence, left to right or right to left, whichever way you naturally move. Beans sit next to the grinder, the grinder sits next to the brewer, mugs are reachable from both.
Then sort by how often you touch things:
- Every cup: on the surface.
- Most days: shelf above or drawer below.
- Weekly or less (specialty syrups, holiday mugs, spare filters, descaler): closed storage.
If you can't see bare surface between items, too much is out. The organization guide turns this into a three-zone system with a one-minute daily reset.
Step 7: Add a task light, then style it
Coffee bars usually sit against a wall or in a corner, which is exactly where the ceiling light puts your own shadow over the scale. One dedicated light at counter level fixes it, and it means you can make coffee at 5:45 without lighting up the house.
| Light | Cost | Where it goes |
|---|---|---|
| Stick-on LED strip | $10-$25 | Under the shelf or cabinet above, about 1 in back from the front edge so you see the light and not the strip |
| Puck lights (battery or rechargeable) | $15-$30 for three | Under shelves, 8-12 in apart. Good for renters and spots far from an outlet |
| Plug-in pendant | $25-$80 | Centered over a freestanding bar, 28-34 in above the surface |
Buy warm white, 2700-3000K. Anything 4000K and up looks like an office breakroom. For strips, a CRI of 90 or higher keeps the wood and the coffee from looking gray-green. Rechargeable lights last weeks per charge, since a coffee bar only needs light for a few minutes at a time.
Styling comes last, and less is better. Pick two or three tones that match the room (black, white, wood and brass age better than trend colors), then add one small plant, one sign or print, coordinated containers instead of bags and boxes, and one textured piece like a wooden tray or linen towel. The styling guide covers layout, layering and mood lighting.
Mistakes that make a coffee bar annoying to use
- Overcrowding the surface. A cramped bar looks messy and is slow to work at. Leave visible counter between things.
- Ignoring the power situation. Plan around an existing outlet or add one. Don't build the bar and then go looking for an extension cord.
- Forgetting about water. You'll carry water daily. Keep the trip short.
- Buying the furniture before measuring. A cabinet two inches too wide for the nook is a return trip.
- No drip protection. Put a mat, tray or towel under the machine on day one, not after the first water ring.
- Relying on the ceiling light. It shadows exactly where you need to see.
What a home coffee bar costs
Anywhere from $0, using a counter and things you own, to $500 and up with new furniture and an espresso setup. A typical mid-range build, not counting the coffee maker:
| Item | Typical cost |
|---|---|
| Cabinet or cart | $80-$250 |
| Containers and organizers | $20-$40 |
| Mug rack or hooks | $10-$25 |
| Mat or tray | $10-$20 |
| Decor (plant, print) | $15-$30 |
| Total | $135-$365 |
An LED strip adds $10-$25. If that total is more than you want to spend, the budget guide has complete builds at $50, $100 and $200, and the DIY guide has three builds under $100. More how-tos are in the guides hub.
Questions people ask
- How much does it cost to set up a coffee bar at home?
- A minimal setup (tray, containers, a few accessories) costs $30-$50. A mid-range station with a cart or small cabinet runs $100-$200. A full setup with a dedicated cabinet, a good machine and accessories typically lands at $300-$600. You don't need to buy everything at once.
- What do you need for a basic home coffee bar?
- A flat surface, your coffee maker, a container for beans or pods, a mug or two, and a small tray or mat to define the station. That is a working coffee bar. A grinder, accessories and decor make it better but aren't required to start.
- Where should you put a coffee bar in your home?
- Near a power outlet and ideally close to water for refills. The most common spots are a section of kitchen counter, a dining room sideboard, a pantry nook, or a dedicated piece of furniture in the living room. Keep it out of the main cooking prep zone, where it competes for space.
- How much space do you need for a coffee bar?
- About 24 in wide x 16 in deep for a single machine, 36 x 18 in for a machine plus grinder and accessories, and 48 in or more wide x 20 in deep for an espresso setup with storage and display. Check height too: standard upper cabinets leave only 18 in above the counter.
- How do you set up a coffee bar without drilling holes?
- Use freestanding furniture like a rolling cart, a side table, or a tray on the counter. Swap wall hooks for a countertop mug tree, lean a small shelf unit against the wall, and use adhesive strips for lightweight signs and stick-on LED lights. Renters can build a complete setup with zero holes.
- How long does it take to set up a home coffee bar?
- With a surface and a coffee machine already in hand, a basic station takes about 30 minutes. Choosing furniture, organizing supplies and adding decor is a weekend afternoon. Most people keep adjusting it for a few weeks as they learn what they reach for.